


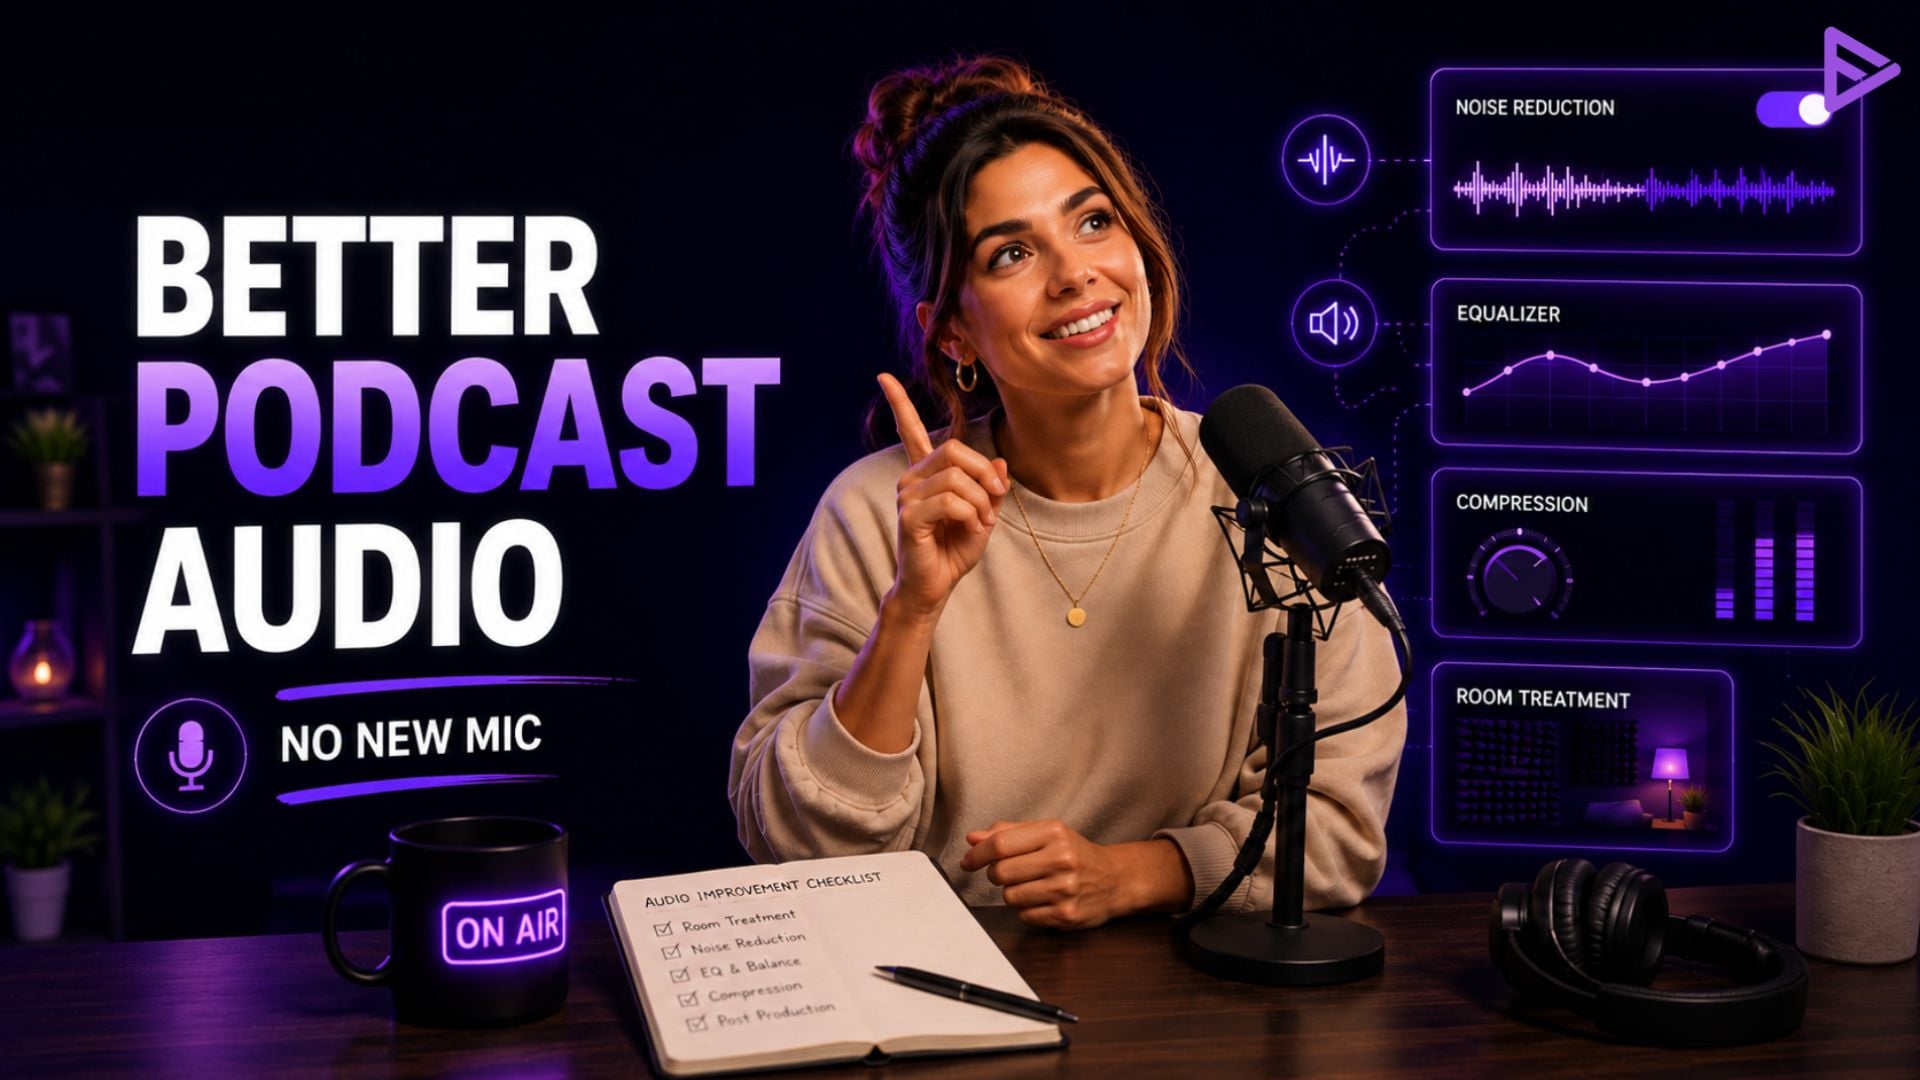
Key Takeaways
- Sit six to eight inches from your mic, even if it means adjusting your camera framing.
- Record in a small, soft-surfaced room. A closet full of clothes often beats an open room with hard walls.
- Set your gain so your voice peaks around -12 dB to -6dB, leaving room to work with in editing.
- Wear headphones while recording so you catch problems before your final export.
- Try Adobe Podcast’s Enhance Speech or Audacity’s noise reduction before buying new gear.
To improve podcast audio quality without a new mic, fix three things: sit six to eight inches from the mic, cut room echo with soft furnishings, and set your gain correctly before recording. Free tools like Audacity and Adobe Podcast’s Enhance Speech clean up what’s left. For YouTube, keep the mic out of frame too.
What Actually Affects Podcast Audio Quality (Before You Blame the Mic)
A better mic won’t fix a noisy room, bad positioning, or wrong gain, and on YouTube, it won’t fix a mic blocking your face either. Three things shape a recording: distance and angle, room noise, and gain. For video, add a fourth: whether your mic gets in the shot. A $300 mic, propped awkwardly in the frame, can still sound and look bad. A $50 USB mic positioned right, angled out of frame, in a treated room often performs better than expected.
Once you’ve sorted your audio and setup, a promotion tool like VeeFly gets the finished video in front of more viewers through targeted YouTube ad placement.
Why Video Creators Deal With This Differently Than Audio-Only Podcasters
A video podcast has to sound clean and look good on camera. A boom arm perfect for audio-only recording might block your face on screen. A shotgun mic mounted above the camera stays out of frame but needs a treated room to sound as good as a close lav or USB mic. Setup is still the main cause of bad audio, but for video it now includes what the viewer sees.
Common YouTube Microphone Setups
Your setup depends on whether you’re solo on camera, hosting a multi-guest podcast, or moving around while filming.
- USB mics (Shure MV7, Rode PodMic USB): Standard for solo, desk-based setups. Easy to keep off-frame on a boom arm.
- XLR mic with audio interface: More control over gain and sound. Common once you’re recording multiple guests.
- Lavalier (lav) mics: For creators who move around on camera or vlog away from a desk.
- Boom-mounted shotgun mic: Common on talking-head and interview channels, sitting just out of frame above the subject.
Mic Positioning Fixes That Cost Nothing
Positioning solves most audio complaints.
- Distance: Stay six to eight inches away. If that’s tight for your framing, try a lav or a boom arm just outside the shot.
- Angle: Speak slightly off-axis rather than straight into the mic. This cuts plosives without a pop filter and keeps the shot cleaner too.
- Height: Set the mic at mouth level, not below your chin. Angled-up mics look less polished on camera.
- Consistency: Stay in the same spot. Moving toward or away from the mic changes volume mid-take.
Clean Podcast Audio Starts With Your Room, Not Your Gear
Clean podcast audio depends more on your space than your gear, and this matters more with a camera involved.
- Turn off AC units, fans, and anything with a motor, including ring lights and camera fans.
- Record in a smaller room with soft surfaces, like a carpeted bedroom, rather than an open living room.
- Add temporary sound absorption with cushions, blankets, or a closet if your space is bare.
- Close windows to cut outside noise, especially where retakes cost time.
Free Tools That Improve Podcast Audio Quality After Recording
Once your setup is handled, free software cleans up what’s left, and these tools work whether you’re finishing a video podcast or a talking-head YouTube video.
- Audacity: Free, open-source software with built-in noise reduction for consistent hum.
- Adobe Podcast Enhance Speech: A free browser tool that strips noise and echo in minutes.
- Auphonic: Two free hours a month, levels volume across speakers, and reduces noise in one pass.
Editing Workflow: Syncing Clean Audio to Your Video
Most cameras don’t capture broadcast-quality audio on their own, so creators record audio separately and sync it later.
- Record on a separate device, then sync it to your footage using the waveform in Premiere Pro, DaVinci Resolve, or CapCut.
- Clean the audio first, then bring it into your video timeline rather than editing sound and picture together.
- For multi-guest recordings, keep each speaker on a separate track so you can adjust levels individually.
- Do a final check with headphones on the exported video, not just the raw file, since export compression can change how it sounds.
Recording Habits That Prevent Bad Audio
A few habits prevent most problems before editing even starts.
- Set your gain to peak around -12dB to -6dB, leaving headroom before it clips.
- Wear headphones so you catch noise or drops in real time, not after filming.
- Pace your speech evenly. Talking too fast or too close to the mic means more editing work later.
Quick Reference: Problem and Fix
Even with a good setup, small recording mistakes can still affect the final sound. The quick reference below highlights the most common podcast audio problems, their likely causes, and simple fixes you can apply before your next recording.
|
Problem
|
Likely Cause
|
Free Fix
|
|
Echo or “bathroom” sound
|
Empty room, hard surfaces
|
Add soft furnishings, record in a smaller space
|
|
Background hum
|
AC, fan, fridge running
|
Turn off appliances before recording
|
|
Popping sounds
|
Speaking directly into the mic
|
Angle slightly off-axis, or use a sock as a pop filter
|
|
Inconsistent volume
|
No gain check, moving position
|
Set the gain before recording, stay in one position
|
|
Muffled or distant voice
|
Sitting too far from the mic
|
Move to six to eight inches away
|
Final Thoughts
Most YouTube audio problems come from the room, the setup, or the levels, not the microphone. Fix positioning without ruining your framing, treat your room with what you already have, and run a free tool like Audacity or Enhance Speech before assuming you need new gear. For video creators, this comes down to balancing what viewers hear with what they see. Once your audio holds up, tools like VeeFly can help get those videos in front of more viewers.
Frequently Asked Questions
Q1. Can I make podcast audio sound professional without a good mic?
Yes, in most cases. Correct positioning, a treated room, and proper gain solve most audio problems, even with an entry-level mic.
Q2. What causes echo in YouTube video podcasts?
Empty rooms with hard surfaces reflect sound into the mic. Soft furnishings or a smaller space cut it down.
Q3. Is Audacity good enough to clean podcast audio?
Yes. Its noise reduction removes consistent hum. Clean it in Audacity first, then sync the finished file to your footage.
Q4. How close should I sit to my microphone?
Six to eight inches is still the target. A lav mic or boom arm just outside the frame gets you the same distance without crowding the camera.
